Hey Sis! Did you miss us?! I missed blogging and after Rachelle was here a few weeks ago, I decided that it was time to get back on here... so here I am!
Now that Christmas and New Years have passed, my house it a hot mess and needed a serious deep cleaning! All the kids (now 19,17, 14, 14, 12 and 9) have been home for a few weeks and my bathrooms especially were out of control. Like most of my friends, I am obsessed with Pinterest and I am constantly pinning new cleaning methods with less chemicals. I feel better with my 19 month old niece and my puppy running around eating off of surfaces and licking who knows what at any given moment, using less chemicals wherever possible. This past weekend, I rolled up my proverbial sleeves, pulled up a few Pins and got down and dirty with my bathrooms. Here are a few things that I tried... I LOVED most of them and can't wait to hear what you all think after you have tried them. Pretty please comment after you have tried these things and let me know what you think!
The first pin that I tried was this pin about cleaning with used dryer sheets. Life changer kids! I will NEVER, EVER throw another dryer sheet away without using it to clean something else first. I wiped my toilet seats with one, wiped all the silver fixtures (toilet paper roll holder, hand towel holder, faucet etc) and they sparkled like they were brand new! I also ran one across my baseboards. Not only did it remove all the dust and lint, rumor has it that is should also repel dust and lint a little longer than normal dusting would. I tried it on the mirrors in my kid's bathroom and was not super impressed. I cleaned the mirrors with my favorite window cleaner and then ran a dry dryer sheet over them again and it grabbed all of the lint and cooties that the first cleaning left behind so I would for sure recommend at least wiping your mirrors when they are not crazy filthy, I was quite pleased. All this being said, my favorite way to use it BY FAR was for the sink. I got the dryer sheet damp and used it to wash out the sink. All the left over tooth paste and soap scum came right up! Yep, I'm hooked!!! I keep them in the bathroom cabinet so they are ready to go whenever the bathroom needs a quick touch up. Extra added bonus??? The bathroom smells like clean laundry! Yes please!!!
After I had everything sparkly clean, I tried this pin telling me to use a cup of baking soda in my toilet bow to absorb odor and clean ugly marks on the inside of my toilet. Honestly, not my most favorite. I don't know if I didn't use quite enough baking soda or if I didn't let it set long enough, but I was not impressed. I will give it another try however and follow the instructions a little better and see if that helps.
This next pin changed this mom of four boy's life. Seriously. I am not any sort of exaggerating. I found this pin promising me that with just three ingredients I could get rid of the boy pee smell in my bathroom. Ladies (and gentlemen)... IT WORKS!!! All you need is baking soda (I used about a half of a cup) and lemon juice (enough to make the mixture the consistency of pancake batter) and vinegar in a squirt bottle. The first thing you will do is make your paste mixture. In one of my bathrooms I made it a bit thin but poured it on the areas I needed to be dealt with (the base of the toilet where it meets the floor and also where the seat connects to the actual toilet) and it worked just fine so not to worry if you get a little excited with the lemon juice. Now you will want to pour it where the stink is coming from (see my last sentence to note where I put my mixture) and let it sit for about 10 minutes and then squirt it with straight white vinegar. It fizzles and bubbles and that apparently is where the magic happens! After it is done fizzing, just wipe it up and viloa! All better!!! I was shocked at how well this worked you guys. It is amazing and so easy! The lemon juice leaves a fabulous scent behind. I can not say enough good things about this idea...
The last pin I tried was one for cleaning the floors. I will never mop with anything else! The recipe is 7 cups water, 1/2 cup baking soda, 1/3 cup ammonia (or lemon juice) and 1/4 cup vinegar. I happen to have a giant bottle of lemon juice in my fridge and no ammonia so I opted for lemon juice. Again, the lemon juice left a fabulous scent. I would recommend using hot water so the baking soda will dissolve fully. I used it in my bathrooms and also my kitchen/dining room and holy moly does this mixture ever cut through dirt and ick! I do want to try getting on my hands and knees and going crazy with a scrub brush because 'they' say it does amazing things for your grout.
I do have a few more pins that I want to try for my shower area, but I decided to wait until the plumber comes to clean out my drains to do that part. I will definitely let you know how well those pins worked also. Overall I was amazed at how clean and fresh my bathrooms turned out and how little effort I had to put into getting them that way. I hope you are all as happy with these ideas as I am!
Happy Cleaning! Alisa
Showing posts with label Alisa. Show all posts
Showing posts with label Alisa. Show all posts
Monday, January 7, 2013

Wednesday, October 5, 2011
I'm a sucker for a ruffle!!!
And a ruffle pillow??? Count me in! GroopDeals has the sweetest pillows up today, and you can even enter to win a pair! Go check it out!!
Tuesday, September 6, 2011
Melty bead fun with the kids!

I was supposed to post last Tuesday. I had a fabulous project all started that I planned on sharing with you guys. It's easy, it's cute, it's FREE! Well, that project came to a screeching halt when the kids found a giant bucket of Melty Beads that my son's teacher gave me at the end of last school year.
 |
| Baby #2 {aka Chelsey made these for my hubby} |
 | ||||||||||
| We added magnetic strips to the back and viola! magnets for his desk at work! |
Wednesday, August 31, 2011
Organization Week : Craft supplies
I am one of the lucky ladies out there that happens to have a craft room! It doubles as a guest room/our son's room when he is home every other weekend. But for the most part, that room is MINE! I love it in that room. All of my fantastic crafting items are in there. My beloved glue gun is in there *sigh*. My husband's grandmother gave me a fantastic wall unit that covers the better half of one wall and is perfect for storing all of the crap precious items that I have amassed collected over the years. This is how I keep the chaos low and my wall unit looking tidy until the day that the doors get installed {hint hint, husband o' mine}.

Fabulous, right?! And this is just one hunk of that room! It is Heaven you guys, I will do a whole post about it when I get it just how I am wanting it :) Pretty much everything is grouped in like items.


Beads and jewelry making things are in plastic cases and color coordinated and put into photo boxes. I have tons of jars that hold my fabulous button collection, some chipboard odds and ends, safety pins etc. This is my favorite shelf...
 Baskets hold little wooden things that will go into my fairy garden and another holds magnetic stuff. My goal today is to get tags on all of the baskets so it is easier to see where things are at a glance.

Last but not least are the cigar boxes. They are the perfect size for holding markers, jewelry making tools, cards etc. These too will be labeled by the end of the day. I saw a fabulous idea a year or so ago on a blog using little pulls so they are easier to pull out of a stack. I need to hunt for that article... how do you store your crafting supplies?

Fabulous, right?! And this is just one hunk of that room! It is Heaven you guys, I will do a whole post about it when I get it just how I am wanting it :) Pretty much everything is grouped in like items.


Beads and jewelry making things are in plastic cases and color coordinated and put into photo boxes. I have tons of jars that hold my fabulous button collection, some chipboard odds and ends, safety pins etc. This is my favorite shelf...


Last but not least are the cigar boxes. They are the perfect size for holding markers, jewelry making tools, cards etc. These too will be labeled by the end of the day. I saw a fabulous idea a year or so ago on a blog using little pulls so they are easier to pull out of a stack. I need to hunt for that article... how do you store your crafting supplies?
Thursday, August 25, 2011
When life gives you lemons...

Throw them in a white bowl and make your kitchen look cute!

Throw a few slices down the garbage disposal, clean a stain off the counter, rub a slice on your fingernails to get the yellowy stain that red polish leaves behind ...

and don't forget to slice a few up to have ready for guests to share a yummy glass of icy cold water or iced tea with you on a warm summer afternoon! :)
Wednesday, August 24, 2011
Happy Giving Birth Day to MEEEEE!!!!
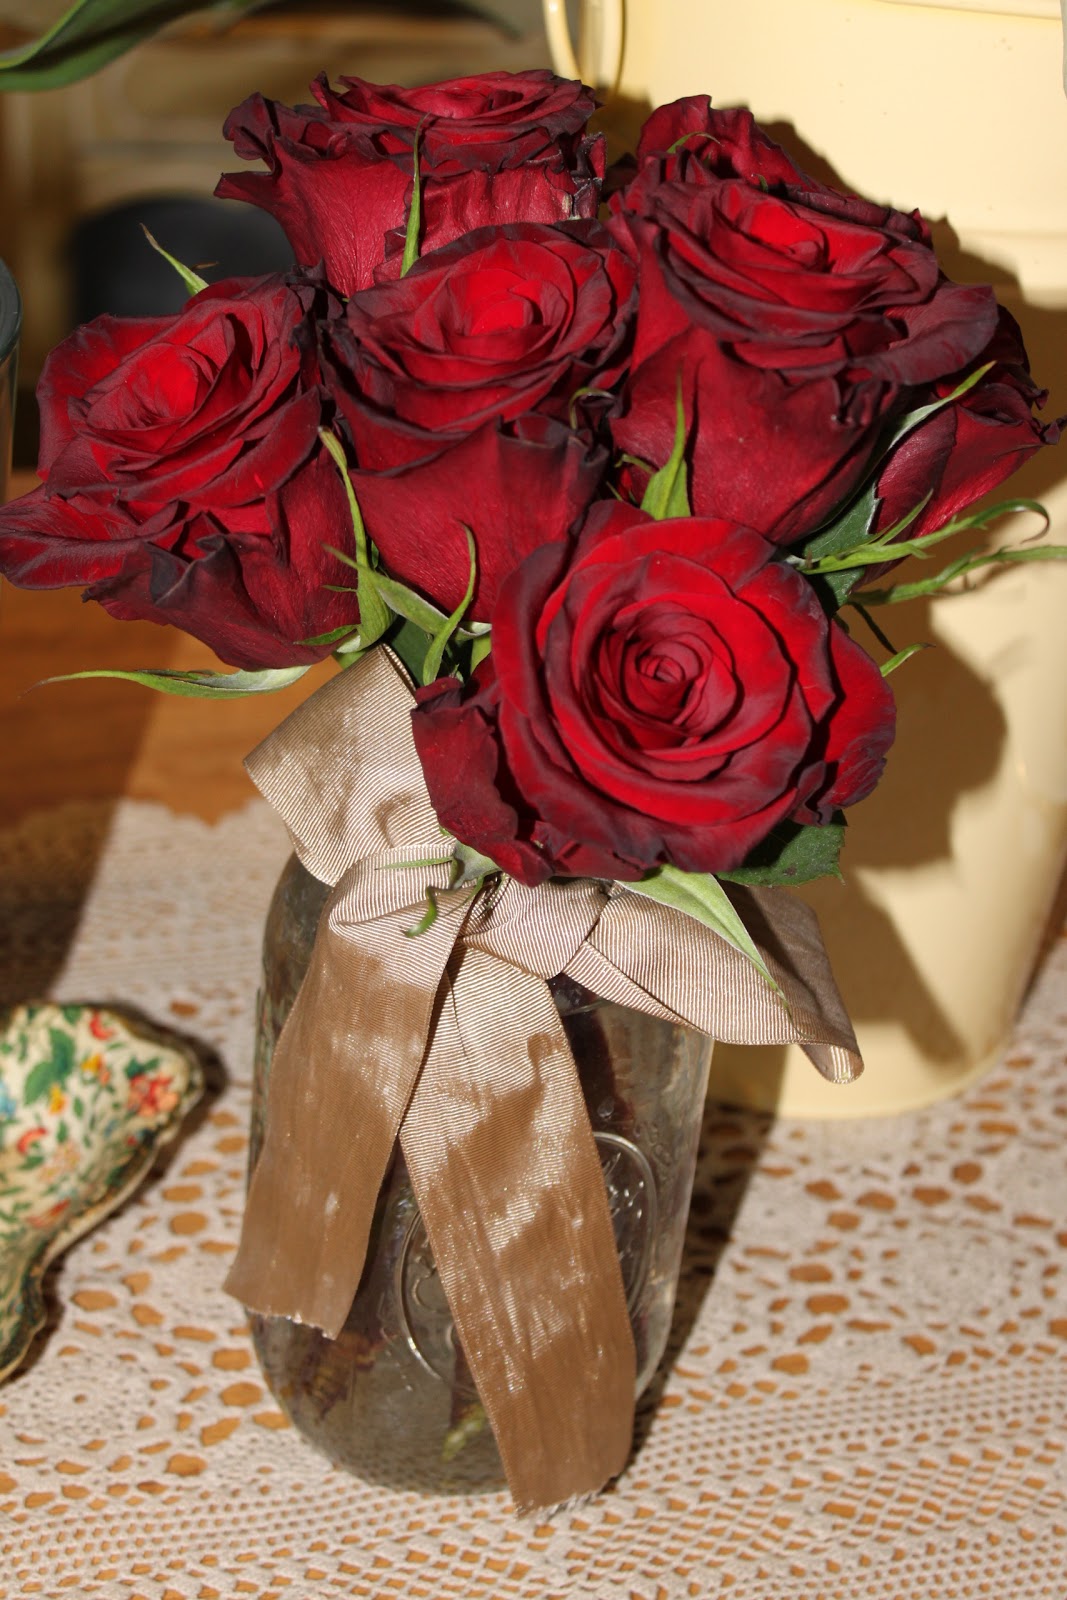
It was a pool party/polka dot theme, here a few of my favorite shots from the day {more to come, I promise!}


yep, I
** can I just point out really quick how insanely cute my cousin's son is?! Hannah isn't too bad herself! ;)**
Thursday, August 18, 2011
E-A-T

I have this little archway between my dining area and my living room and both sides are BLANK! How can that be?! ;) It has been driving me nuts looking at it mocking me just being all blank and ugly {hee hee} so I marched into my craft room and looked around at my baskets of supplies and came up with the perfect idea for the dining room side. Letters out of wine corks! I love the texture of wine corks. I think they are so super pretty!


I laid them out on my kitchen table before I actually glued them together to make sure that I liked how they looked and that they were about the same size. Then I just hot glued them together!

Here they are all glued together and up on that awful, empty space ;)
Tuesday, August 16, 2011
brownie cupcakes

What is better than a brownie? A brownie cupcake!!! What is better than a brownie cupcake? A brownie cupcake topped with a roasted marshmallow! YUM!
I used a boxed mix {Betty Crocker with the added Hersey's Syrup to be exact} and substituted applesauce for the oil other than that, I followed the directions. Cook them for 15 minutes and then add a marshmallow to the top of each of them and then cook them an additional 10 minutes or until the marshmallows are golden brown.
Tuesday, August 9, 2011
Wet Felting
This weekend I decided to try my hand at wet felting. My mom stopped by for a visit and I even let her {forced her} do some and it turned out rather nice! My poor mom is not where I get my craftiness from. She freely admits that she comes up with the ideas and lets someone else {me} figure out how to make them :) My mom happens to work with someone who has an alpaca farm {I am jealous!} and he gave me a good hunk of roving {fancy word for alpaca hair all nicely brushed out and fantastic} awhile back and I was too afraid to do anything with it. I looked up a few videos on YouTube on wet felting and they were super helpful to get me started...
SO I gathered my roving, some bubble wrap, a bowl of warm soapy water and a towel and got to it...
 This is what my roving looked like before I got started.


My mom {with a little assistance} pulled the roving into thin strips and laid it on the bubble wrap {look this up on YouTube, I couldn't get any sort of decent pictures of this step}, drizzled the warm soapy water over it and massaged it for a few minutes.

It looked like this when we opened it up. At this point I decided that we had worked it enough and went ahead and rinsed the soap off of it.

It sorta looked like matted up hair in a nice sheet. At this point I realized that I really should have used more roving so it would be thicker. Live and learn :)

We made a few, laid them on a baking rack and sat them outside to dry since it was a beautiful Southern California day. Can you tell which was our first attempt? They got thicker as we went along. I am going to make a brooch out of these later in the week. This would be a great craft to do with kids. I even found a few tutorials showing easy ways to do this with kids. Enjoy!
SO I gathered my roving, some bubble wrap, a bowl of warm soapy water and a towel and got to it...


My mom {with a little assistance} pulled the roving into thin strips and laid it on the bubble wrap {look this up on YouTube, I couldn't get any sort of decent pictures of this step}, drizzled the warm soapy water over it and massaged it for a few minutes.

It looked like this when we opened it up. At this point I decided that we had worked it enough and went ahead and rinsed the soap off of it.

It sorta looked like matted up hair in a nice sheet. At this point I realized that I really should have used more roving so it would be thicker. Live and learn :)

We made a few, laid them on a baking rack and sat them outside to dry since it was a beautiful Southern California day. Can you tell which was our first attempt? They got thicker as we went along. I am going to make a brooch out of these later in the week. This would be a great craft to do with kids. I even found a few tutorials showing easy ways to do this with kids. Enjoy!
Wednesday, August 3, 2011
Didja miss me?!
So, what is my lesson learned from the past week? DO NOT CLICK ON ANYTHING on my computer that I am not positive is not filled with the funk that will cause my laptop to go coo coo la roo! Luckily Rachelle has enough fabulous ideas for the both of us because my laptop was down with an awful virus and the desktop and my camera were not trying to connect with each other. Lesson learned :) Thanks Sis for taking such fantastic care of our new {blog} baby!
Okay, enough of that and on to craftiness!!! We went camping this last weekend {a disaster btw, story to come in a few days} and I decided {luckily because I NEEDED it} that this was the PERFECT time to make a blanket that I had been wanting to make to take with us. Turned out it was super simple to make and was just right for the excitement that we will refer to as "camping" in later posts ;)
Supplies needed:
2 sheets
yep, that's it! Dig around in the closet for two that are the same size. Even better, dig around in your mom or grandma's closet because more than likely there is a surplus of sheets and they have been washed and loved to perfection! I am sure your local thrift store is full of tons of lovelies just waiting to come home with you at a wonderful price. I chose two that did not any sort of match {cause that is just how I am I suppose} and one of mine was a nice lightweight cotton and the other a super soft {pre-loved} flannel.

[fyi, these sheets happen to be twin sized. This seemed to be just right for just me and my kids have been using it to snuggle up with in the evening and it is a great size for them also]
I laid both of my sheets on my living room floor, right sides together, and pinned them all the way around. I left a good foot long section open to flip it right side out when I was done sewing it. Before I flipped it out, I snipped off the the corners so there would not be big bulges when I flipped it. Then I flipped it right side out and sewed all along the top with just a basic straight stitch.

[world's worst picture! sorry! you can sort of see the top stitch that I did... new camera got here this week, picture quality HAS to go up ;)]

Here it is all done. I may go ahead and add little knots all over it. Not because it needs it, I just happen to think the little knots are cute. But I sorta love it just as is!

[kitty loves it too and he would prefer that I did not take his photo showing so :)]
That's it! Easy enough, right? I am thinking of making these for each of my kids for Christmas. We are a bit of blanket obsessed in this house, but living in Southern California does not really require us to have heavy blankies often. Have fun and let us know if you make one!
Tuesday, July 26, 2011
Fun bird tray
Here is a fun little tray that ended up fitting in perfectly in my kitchen.
Supplies:
Frame with glass
Caulk
Craft Paint
Varnish (optional)
Enough fabric or paper to fit frame
 *how do you like that powdered coffee creamer that is poofed everywhere? Nice huh? ;)
I happened to have this frame in the closet, so I removed the glass and painted away. I set it out to dry and then sprayed it with a varnish so it would be easier to wipe down after being used.

Then I added a bit of fabric and caulked around the inside (not as neatly as I would have liked, but it adds to the charm, right?). Here is a helpful tip that I didn't think about. At this point, don't pick it up. It squishes the caulk out and then you get to redo it (hence the non-neatness). Just let it sit and dry overnight.

Add your sweeteners, creamers etc and you are good to go! Enjoy!
Supplies:
Frame with glass
Caulk
Craft Paint
Varnish (optional)
Enough fabric or paper to fit frame

I happened to have this frame in the closet, so I removed the glass and painted away. I set it out to dry and then sprayed it with a varnish so it would be easier to wipe down after being used.

Then I added a bit of fabric and caulked around the inside (not as neatly as I would have liked, but it adds to the charm, right?). Here is a helpful tip that I didn't think about. At this point, don't pick it up. It squishes the caulk out and then you get to redo it (hence the non-neatness). Just let it sit and dry overnight.

Add your sweeteners, creamers etc and you are good to go! Enjoy!
Saturday, July 23, 2011
Cloth Napkin Table Runner
Yesterday I decided that I needed a little craft therapy, so I whipped this little cutie up in about half an hour...

I found these cloth napkins at Michael's last summer. They were in the dollar area, but I waited long enough to buy them and they were marked down to a dime each!

All I did was a quick stitch with embroidery thread and tied a knot at every point that they overlapped. I did this by hand, but it would work just fine to do it on a machine. I was going for a bit more "homey" look so I wanted the knots showing.

This is just one of my favorite things in my house. It is a trifle bowl that normally collects dust in my cabinet, filled with faux moss covered rocks (I needed 3 bags from the Dollar Tree to fill it). The flower is just 2 stickers on either side of a toothpick. The cow was covering the sip hole on my to-go coffee cup. The letters (which represent mine and my husbands initials) are from some happy birthday candles (also from the Dollar Tree... seeing a trend?). Cute huh?!
Thursday, July 21, 2011
Oh Yum!
One of my most favorite blogs in all of Blogland is Crafterhours, a few days ago, Susan posted a recipe that she found for Oreo stuffed chocolate chip cookies. One word guys.... YUM!!! Check it out, make them and come back and tell me how decadent and fantastic they are. Not anywhere near low-cal, but the hubs made them for me for my birthday treat and I wanted to shout from the rooftop about how delish they were! Thank you Susan!!! Enjoy...
Tuesday, July 19, 2011
Got cassette tapes?!
Okay kids... know that stash of cassette tapes that you have on the top shelf of your closet? Well go grab them! All this project requires is 10 cassette tapes (my friend gave me hers, but I have seen them at the thrift stores for $0.25!), glue (hot glue or E6000, hot glue is quicker, E6000 is stronger) and a small bit of craft foam-if desired.

I made two of these a few years back. One for little pads of paper and one for pens. I found that pens tended to get stuck in the little holes on the tapes, so I glued a bit of craft foam in there.

You get the idea of how they are glued together from this pic. I glued the sides together first then stuck the bottom on.

And here they are where they live on our little desk. Helps keep things nice and tidy and is fun and a little retro :) there you have it... a super fast project for ya! Enjoy!!
ps... sorry about the poor picture quality... these are from my little point and shoot :)
Monday, July 18, 2011
"create" wreath


I started with a simple styrofoam wreath {I picked this up at the Dollar Tree} and slapped some paint on it. Easy enough, yes?

Then I added a little bird { also found at the Dollar Tree, she even has a little friend that I have sitting in my kitchen}, some flower stickers and a ribbon scrap as a banner with some chipboard letters {found those at Target in the Dollar Spot for 75% off!} and VIOLA! super duper cuteness to greet me!
Sunday, July 17, 2011
Welcome to hey sis!
What's "hey sis"?
Hey sis! was created by Alisa & Rachelle who are not actually sisters but cousins. However, growing up we called each other sister... because lets face it calling someone "sister" is so much cuter then calling someone "cousin". While we live in separate states there was something that always bonded us (other than the whole being related thing), and that was our love for all things crafty, creative, and just plain pretty! After years of spending time doing lots of creative "stuff" apart {occasionally together when we happened to be visiting the other one}, we decided to join creative forces to create "hey sis!".
Our projects may not always be 100% original, but we will try to give credit to wherever we found our inspiration (and hope that if you find yourself inspired by us, you will do the same).
We hope that this will be a place that we can share projects with each other, because lets be honest living in separate states does not always give us the luxury of knowing what amazing projects the other is spouting out. However we also hope to inspire our readers (even those who think that they are not "creative enough" to be crafty) and in turn be inspired.
We are looking forward to taking over the world one glue stick at a time!
About Alisa
Alisa is a 37 year old (gasp) mom of 6 (yep, six!) ranging in age from 8-18. Needless to say, going to an official "job" is not realistic, so instead she decided to take on another form of work and is now playing nanny-of-sorts to her brand new little niece! Before your little heart skips another beat from hearing how many kiddos are in this house, keep in mind that our family is blended, so they kinda revolve in and out... but mostly in :) Alisa has always been crafty teaching her friends how to color with crayons perfectly and making dolls out of panty hose and the like from as far back as she can remember. Now she enjoys using these skills to decorate her home and help entertain her kiddos!
Alisa is a 37 year old (gasp) mom of 6 (yep, six!) ranging in age from 8-18. Needless to say, going to an official "job" is not realistic, so instead she decided to take on another form of work and is now playing nanny-of-sorts to her brand new little niece! Before your little heart skips another beat from hearing how many kiddos are in this house, keep in mind that our family is blended, so they kinda revolve in and out... but mostly in :) Alisa has always been crafty teaching her friends how to color with crayons perfectly and making dolls out of panty hose and the like from as far back as she can remember. Now she enjoys using these skills to decorate her home and help entertain her kiddos!
About Rachelle
 Rachelle is a 20-something part-time Pre-K teacher and full-time mom to a beautiful little girl. Growing up she always loved to be creative, but never thought that she was one of those crafty people till she graduated college, got married and realized how expensive everything really was. She started to get crafty out of a love for pretty things and a hatred for things that cost money! She now proudly calls herself a frugal {read:won't pay for something that she could figure out how to make herself} and creative gal!
Subscribe to:
Posts (Atom)