Page Links

Showing posts with label DIY birthday. Show all posts

Wednesday, September 14, 2011

Birthday Party: Zebra {with a touch of poodle}

 Sophia's party was so much fun and we were so fortunate to be able to celebrate her special day with our amazing family and friends. We are so blessed to have each and everyone of them in our lives. Our daughter does not lack in the love department... she has so many people who love her so much!
Remember those coffee filter pom-poms? Well they made an appearance at her party in the form or table decorations!
 I threw around the idea of putting her canvas on the front door, but decided instead to use it to decorate the gift table. I used a easel to stand it up and tossed a few pom-pom balls around it for good measure.
 I took the wire grate off of an old gate that was on our side yard and used it above the outdoor fireplace at my parent's house to hang all of Sophia's weekly pictures (not going to lie... so glad that little project is done and over with).
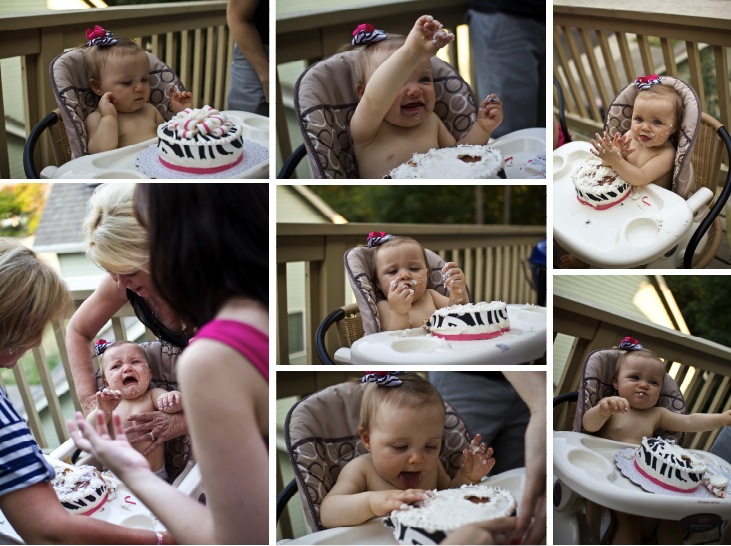
 Less than a week before her party I still had no idea what I was going to do for a smash cake. I wanted something to match her party, but I was not finding anything I liked. So I enlisted the help of my mother-in-law who enjoys cake decorating and she made this for her. Isn't it so cute?!?!
I did a sweets table outside also. I hung all the ruffled streamers and put up a zebra stripped "sweets" sign. On the sweets table I put out zebra cupcake liners that had ice cream scooped inside, chocolate dipped pretzel rods, as well as some cupcakes in {baby food} jars. Next to this table I had a decorating station where people could pop the lid off of their cupcake and decorate them with frosting and sprinkles!

I created lots of printables that matched her theme. I created cards for the food tables, stickers that I used on the cupcake jars, and note cards that said remember when for our guests to write their favorite Sophia memory. Of course there was also LOTS of pictures all over the place of her first year. 


We decided to wait to let her have any cake till her party. So her little mouth had never tasted the goodness that is frosting! It was so fun to watch her reaction and to see her dig in for the first time. As you can see by the bottom picture on the left she was not too happy when cake time was over!


Lastly, her birthday outfit is the one thing that I did not create myself (well, and the smash cake). I actually got the entire outfit custom made (the tu-tu, embroidered onesie and bows) on etsy from a shop called tutu2cute. She did an amazing job, got it to me quickly and customized perfectly everything I asked for. 


Monday, September 5, 2011

{ruffled} streamers

We are in full on birthday mode in our house this week. My baby girl turns one on Friday and her party is on Saturday. One thing is for sure, when you have a mom who loves to get a little crafty, a birthday can not pass without some serious homemade decorations going on. I already showed you the pom-pom puffs and  the zebra platters that I made {by the way, I took your suggestions and will be adding a little monogram to them this week}, but I wanted to give you one other sneak peak into her party. 


A few weeks ago, I was at the dollar tree and I picked up a couple packages of streamers {black, white & hot pink}. I knew I would fancy em' up a bit before the party but was not really sure what I was going to do. So I went online and did a little browsing and found this tutorial and I was in heaven! If you have not checked out some of Dana's amazing creations over at Made get on over there and check it out... you will not be disappointed! 
I am not even going to leave you with a tutorial of how I did my streamers, because I seriously followed her directions exactly and it worked perfectly! I will just leave you with some pictures {because what's a post without pictures?}
What I love most about this project is you do not have to be an expert sewer.... I mean really, you don't even have to be able to sew a straight line. My lines on my streamers are not super straight, but I like it that way, it helps them curl a little more when hung, and gives it even more texture!

Friday, August 26, 2011

coffee filter pom-poms {three ways}


Some business first: Starting in September, Hey sis will have a themed week, the first week of every month. Is there a certain area of crafting that you would like us to feature {i.e. parties, holidays, gift giving, etc}? Let us know!
Our first themed week will be next week {August 29th- September 2nd} and it is all about organization. If you have a great organizing tip you would like to share with our readers {or something that you need help with}, send us an email at heysisblog@gmail.com and let us know!

Alright, enough business... on with the good stuff!


I was recently given a huge container full of coffee filters. They have been sitting in my office, staring at me, taunting me. I knew that there was something cute I could do with them, but I had no idea what.

I finally made a decision to use them to make some pom-pom puffs. I totally winged it {isn't that what I always do} and I came up with three different ways that turned out so cute {and if I am being honest, I came up with a few others that were hideous}. The beauty of this project is that it was 100% FREE!


Pom-pom #1: Classic Look
Items Needed:
~ Coffee Filters
~ Hot Glue Gun
~ Piece of Trash {wadded up in a ball and wrap in tape}
~ Wooden Dowel {optional}


{one} Put your finger or the wooden dowel in the middle of the coffee filter and wrap it.
{two} Place a dab of hot glue on the end of the coffee filter and push onto your ball o' trash.

{three} Continue adding coffee filters till you get the desired fullness you want.
Helpful Hint: Start covering the ball all over very loosely. Then fill in the bald spots. This will make your pom-pom look more even in the end.
{four} When you have the desired fullness, use a pair of good scissors to sheer away any bumps you don't like.
Pom-pom #2: Water Lily Look
Items Needed:
~ Coffee Filters
~ Hot Glue Gun
{one} Grab 3 or 4 coffee filters and place on top of each others. 
{two} Fold the coffee filters in half a few times till you end up with a triangle.


{three} Cut the ends off in a triangle . 
{four} Continue to do this step to four different stacks of filters. With each stack of filters cut a little smaller than the last. 
{five} Start with the largest coffee filters, and hot glue a small dab in the middle and stack one on top of the other. When stacking place them on top of each other so that they are not all exactly turned the same way. 
{six} Continue to do this with each size. Hot glueing all the coffee filters together. 

{seven} Flip stack over.
{eight} Begin scrunching in each layer once at a time, till you end up with something that looks like a water lilly. 
Pom-pom #3: Classic with a twist. 
Items Needed:
~ Same as Pom-pom #1


{one} Start by cutting your coffee filters the same way as pom-pom #2, but keep all your coffee filters the same size {instead of all different sizes}
{two} Hot glue your coffee filters to your ball o' trash the same way as you did with pom-pom #1. 


The beauty of this pom-pom is you don't have to worry about trimming it in the end because it is supposed to be different levels!


I linked up to the following:
Blue Cricket Design 
The Shabby Nest    
Go and check out other amazing projects to get even more inspired...

Wednesday, August 24, 2011

Happy Giving Birth Day to MEEEEE!!!!

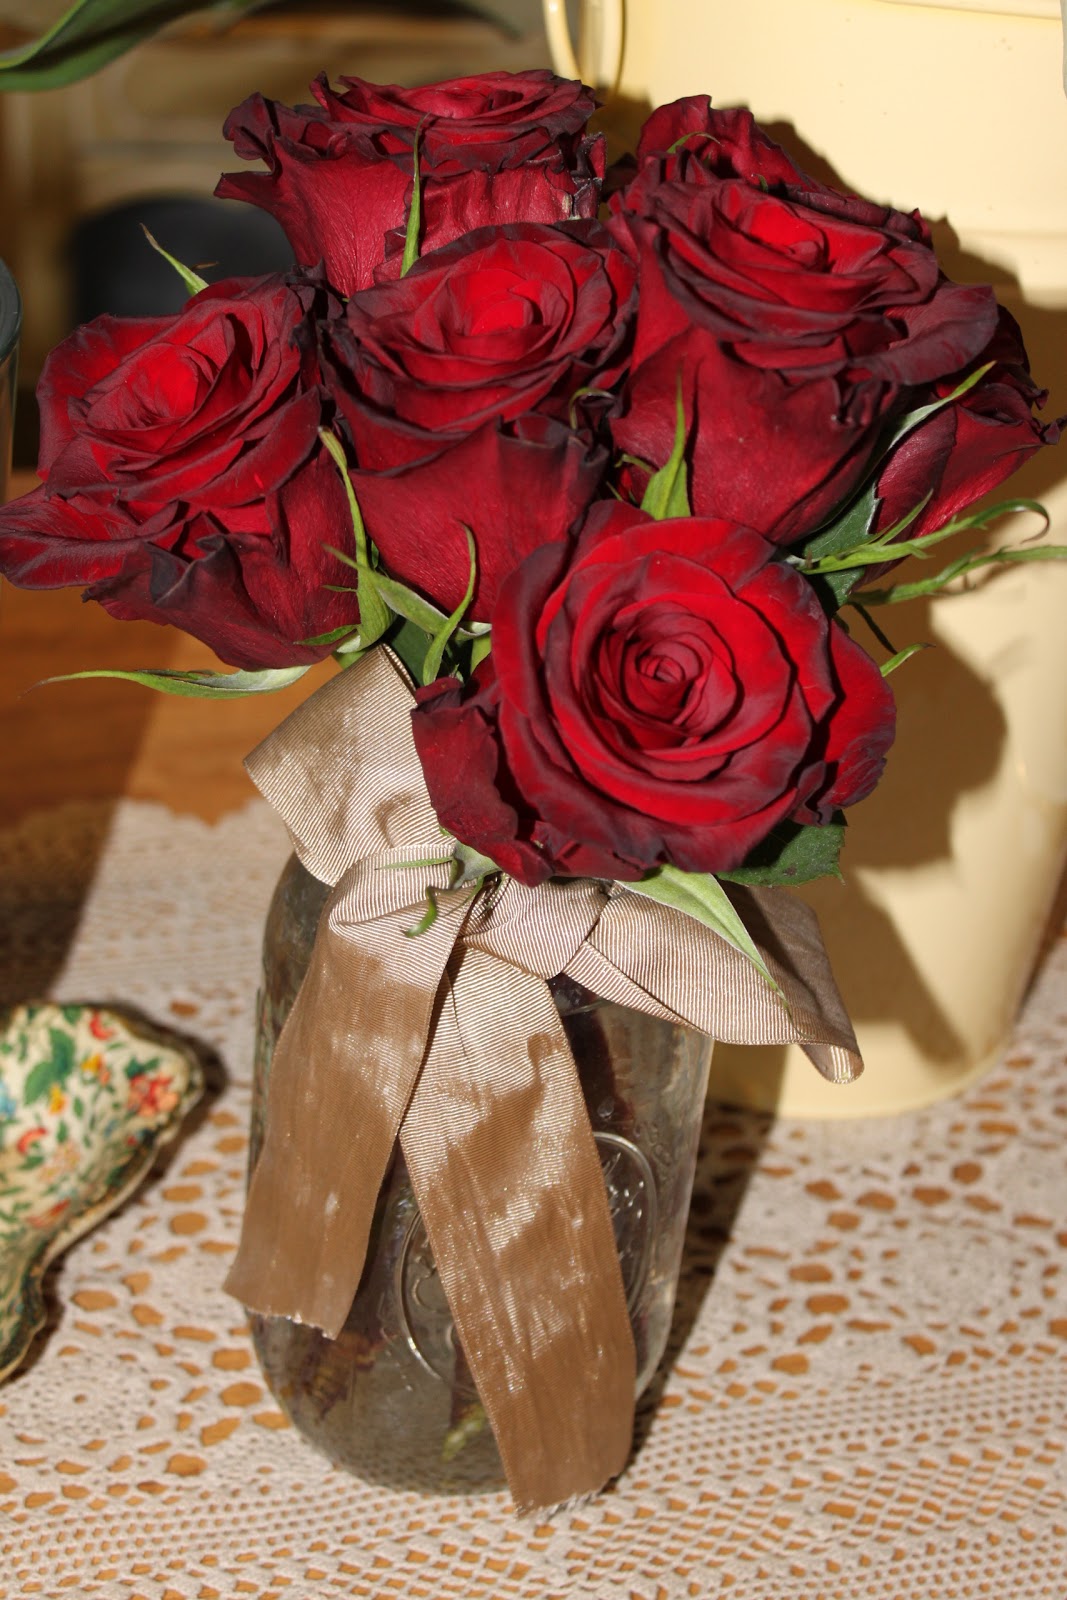
This week, baby #5 {aka, Hannah} turned 11! My fabulous husband brought home 18 of these beauties to thank me for birthing our kiddo :) He's a keeper!

It was a pool party/polka dot theme, here a few of my favorite shots from the day {more to come, I promise!}


yep, I stole *ehem borrowed Rachelle's idea for using baby food jars {did some traditional cup cakes also, I liked them being different heights :)} for her cup cakes. Word to the wise... they WILL cook over and make the jars messy if you fill them too full. I did mine about 3/4 full-ish and made a big mess, but I decided that it added texture {others might call this laziness, I called it "creativeness" ;)} and left them as they were. Guess what?? No one cared!

** can I just point out really quick how insanely cute my cousin's son is?! Hannah isn't too bad herself! ;)**