Page Links

Showing posts with label organization. Show all posts

Wednesday, September 7, 2011

how I saved my marriage {diy tiered tray}

I have a horrible habit of leaving all my makeup out on the bathroom counter... it drives my husband CRAZY! I don't know why it is so hard for me to simply put it back in the drawer when I am done, but it is. I have even tried getting some cute drawer organizers thinking that would motivate me, but not so much! It is a strange phenomenon that I don't really understand because I am straight up giddy about organization in every other room in our house, but I just can't get it together in the master bathroom.


So to keep my husband from full on killing me I came up with a plan, and it required some diy goodness! I made a tiered tray {bowl on top/plate on bottom} that now lives on our bathroom counter that my makeup goes in. It is a win/win for us because it gives the illusion of picked up {which makes my husband happy} while not having to actually put anything away {which makes me happy... man how lazy do I sound?}.


Supplies:
~ bowl {I used an old plastic picnic bowl}
~ plate {I used a plastic picnic plate}
~ salt shaker {I used the kind that had a screw on lid, so I screwed that off before I started}
~ E6000
~ gloss spray paint


What I did:
{one} clean your bowl, plate and shaker well before starting
{two} lightly coat the top and bottom of your salt shaker with the E6000 and stick the bottom to the center of your plate and the top to the center {bottom} of your bowl
{three} this is the hardest step of all: allow your creation to completely dry for 24-48 hours!!!! This is super important so that it is completely dry.
{four} paint your tray the desired color and let dry {make sure to do thin even coats... you do not want your paint to run}


Once it was completely dry I added it to the corner of my counter. I also took two glass votives {one small and one medium} and used the epoxy to hold them together as well. Once dry I filled the large votive with some dry split peas and used it to hold my makeup brushes and tweezers.

Wednesday, August 31, 2011

Organization Week : Craft supplies

I am one of the lucky ladies out there that happens to have a craft room! It doubles as a guest room/our son's room when he is home every other weekend. But for the most part, that room is MINE! I love it in that room. All of my fantastic crafting items are in there. My beloved glue gun is in there *sigh*. My husband's grandmother gave me a fantastic wall unit that covers the better half of one wall and is perfect for storing all of the crap precious items that I have amassed collected over the years. This is how I keep the chaos low and my wall unit looking tidy until the day that the doors get installed {hint hint, husband o' mine}.


Fabulous, right?! And this is just one hunk of that room! It is Heaven you guys, I will do a whole post about it when I get it just how I am wanting it :) Pretty much everything is grouped in like items.


Beads and jewelry making things are in plastic cases and color coordinated and put into photo boxes. I have tons of jars that hold my fabulous button collection, some chipboard odds and ends, safety pins etc. This is my favorite shelf...

Baskets hold little wooden things that will go into my fairy garden and another holds magnetic stuff. My goal today is to get tags on all of the baskets so it is easier to see where things are at a glance.


Last but not least are the cigar boxes. They are the perfect size for holding markers, jewelry making tools, cards etc. These too will be labeled by the end of the day. I saw a fabulous idea a year or so ago on a blog using little pulls so they are easier to pull out of a stack. I need to hunt for that article... how do you store your crafting supplies?


Monday, August 29, 2011

Organization Week: Hair Accessories


I am a big fan of baby bows... I mean a B.I.G fan! I don't even think that Sophia was a few hours old when I slapped her first bow in her hair. I always had this fear that people would think she was a boy {which still happens even with a big ol' bow in hair... go figure}. I just think bows are so pretty and cute and well, I just love them. The only problem with bows is they are so easy to misplace. I learned pretty early on that if I was going to support my bow buying/making habit, I needed to figure out a way that I could organize them easily and for cheap {I mean, I had to do it for cheap so I could buy more bows}. 

I made two different places to organize hair bows in my daughters room. The first place was to organize her clips, and the second place was to organize her headbands. This is nothing ground braking, people! I used many tried and true methods but with my own spin on it.

Hair Bow Holder:
{items needed}:
~ old canvas {even a piece of sturdy cardboard/old frame/piece of wood would work}
~ material 
~ ribbon
~ staple gun
I usually have way more bows up than this, but this picture was taken on a "bad" organizing week. Do as I say, not as I do people!

{what I did}:
The process is so easy that I don't think it even warrants a step-by-step explanation. All I did was take an old canvas {side story behind the canvas: I decided to make some beautiful art work for my hubs office... well lets just say two hours later all I had to show for it was a canvas that looked like... ummm something brown and nasty was smeared all over it. Not my most shining artistic moment}.
I took some leftover fabric from her crib bedding that my mom helped me make and pulled it taught and straight and stapled it to the back using a staple gun. Then I added coordinating ribbon by stapling it down the canvas vertically. Lastly, I added a piece of ribbon to the top and hung it up next to her changing table. 

Headband Organizer:
{items needed}:
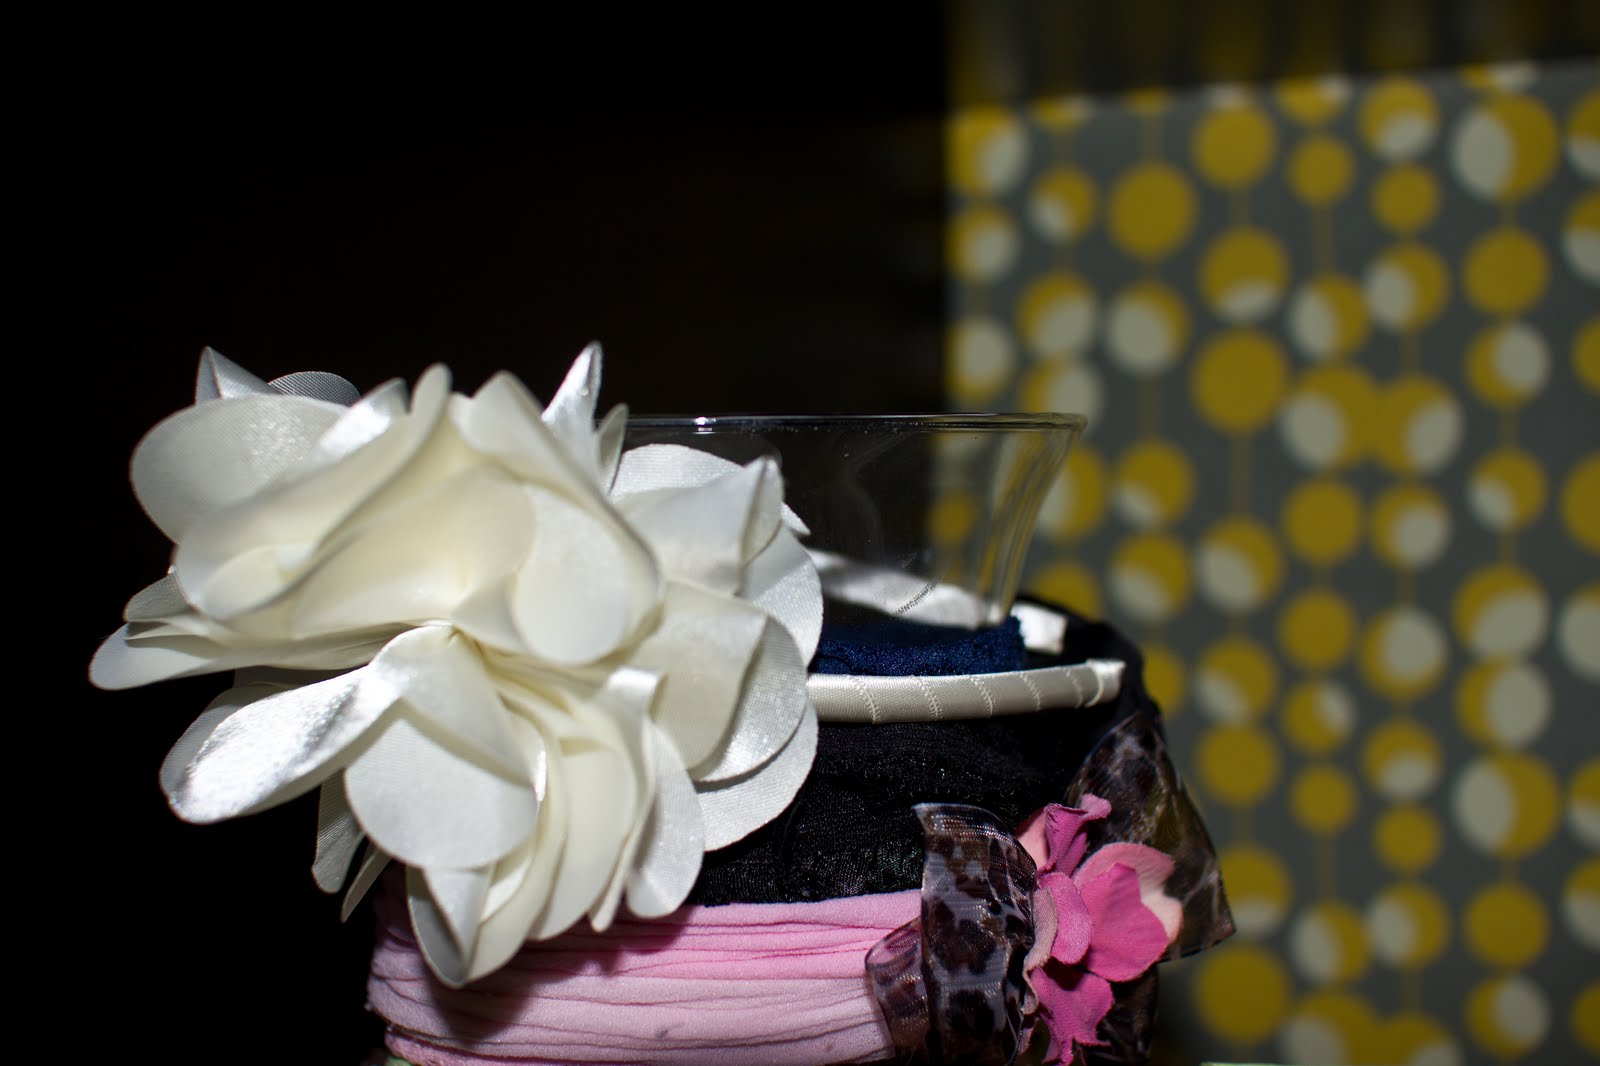
~ Round vase {about the same size round as an oatmeal container}--- I got mine at the dollar store awhile back
~ NOTHING ELSE!
{what I did}:
I took headbands and put them around a vase. That's it! I threw around the idea of making a headband holder out of an old oatmeal container, but that would have required some decorating of said oatmeal container and I did not have anything on hand that matched her room. 
And guess what? Once I added all of her head bands you wouldn't have even been able to see the decorating anyway. So I say the glass vase solution was a win!

So there you have it! That is how I keep my love for baby hair accessories under wrap. Simple, easy, and organized!