Page Links

Showing posts with label canvas. Show all posts

Monday, August 29, 2011

Organization Week: Hair Accessories


I am a big fan of baby bows... I mean a B.I.G fan! I don't even think that Sophia was a few hours old when I slapped her first bow in her hair. I always had this fear that people would think she was a boy {which still happens even with a big ol' bow in hair... go figure}. I just think bows are so pretty and cute and well, I just love them. The only problem with bows is they are so easy to misplace. I learned pretty early on that if I was going to support my bow buying/making habit, I needed to figure out a way that I could organize them easily and for cheap {I mean, I had to do it for cheap so I could buy more bows}. 

I made two different places to organize hair bows in my daughters room. The first place was to organize her clips, and the second place was to organize her headbands. This is nothing ground braking, people! I used many tried and true methods but with my own spin on it.

Hair Bow Holder:
{items needed}:
~ old canvas {even a piece of sturdy cardboard/old frame/piece of wood would work}
~ material 
~ ribbon
~ staple gun
I usually have way more bows up than this, but this picture was taken on a "bad" organizing week. Do as I say, not as I do people!

{what I did}:
The process is so easy that I don't think it even warrants a step-by-step explanation. All I did was take an old canvas {side story behind the canvas: I decided to make some beautiful art work for my hubs office... well lets just say two hours later all I had to show for it was a canvas that looked like... ummm something brown and nasty was smeared all over it. Not my most shining artistic moment}.
I took some leftover fabric from her crib bedding that my mom helped me make and pulled it taught and straight and stapled it to the back using a staple gun. Then I added coordinating ribbon by stapling it down the canvas vertically. Lastly, I added a piece of ribbon to the top and hung it up next to her changing table. 

Headband Organizer:
{items needed}:
~ Round vase {about the same size round as an oatmeal container}--- I got mine at the dollar store awhile back
~ NOTHING ELSE!
{what I did}:
I took headbands and put them around a vase. That's it! I threw around the idea of making a headband holder out of an old oatmeal container, but that would have required some decorating of said oatmeal container and I did not have anything on hand that matched her room. 
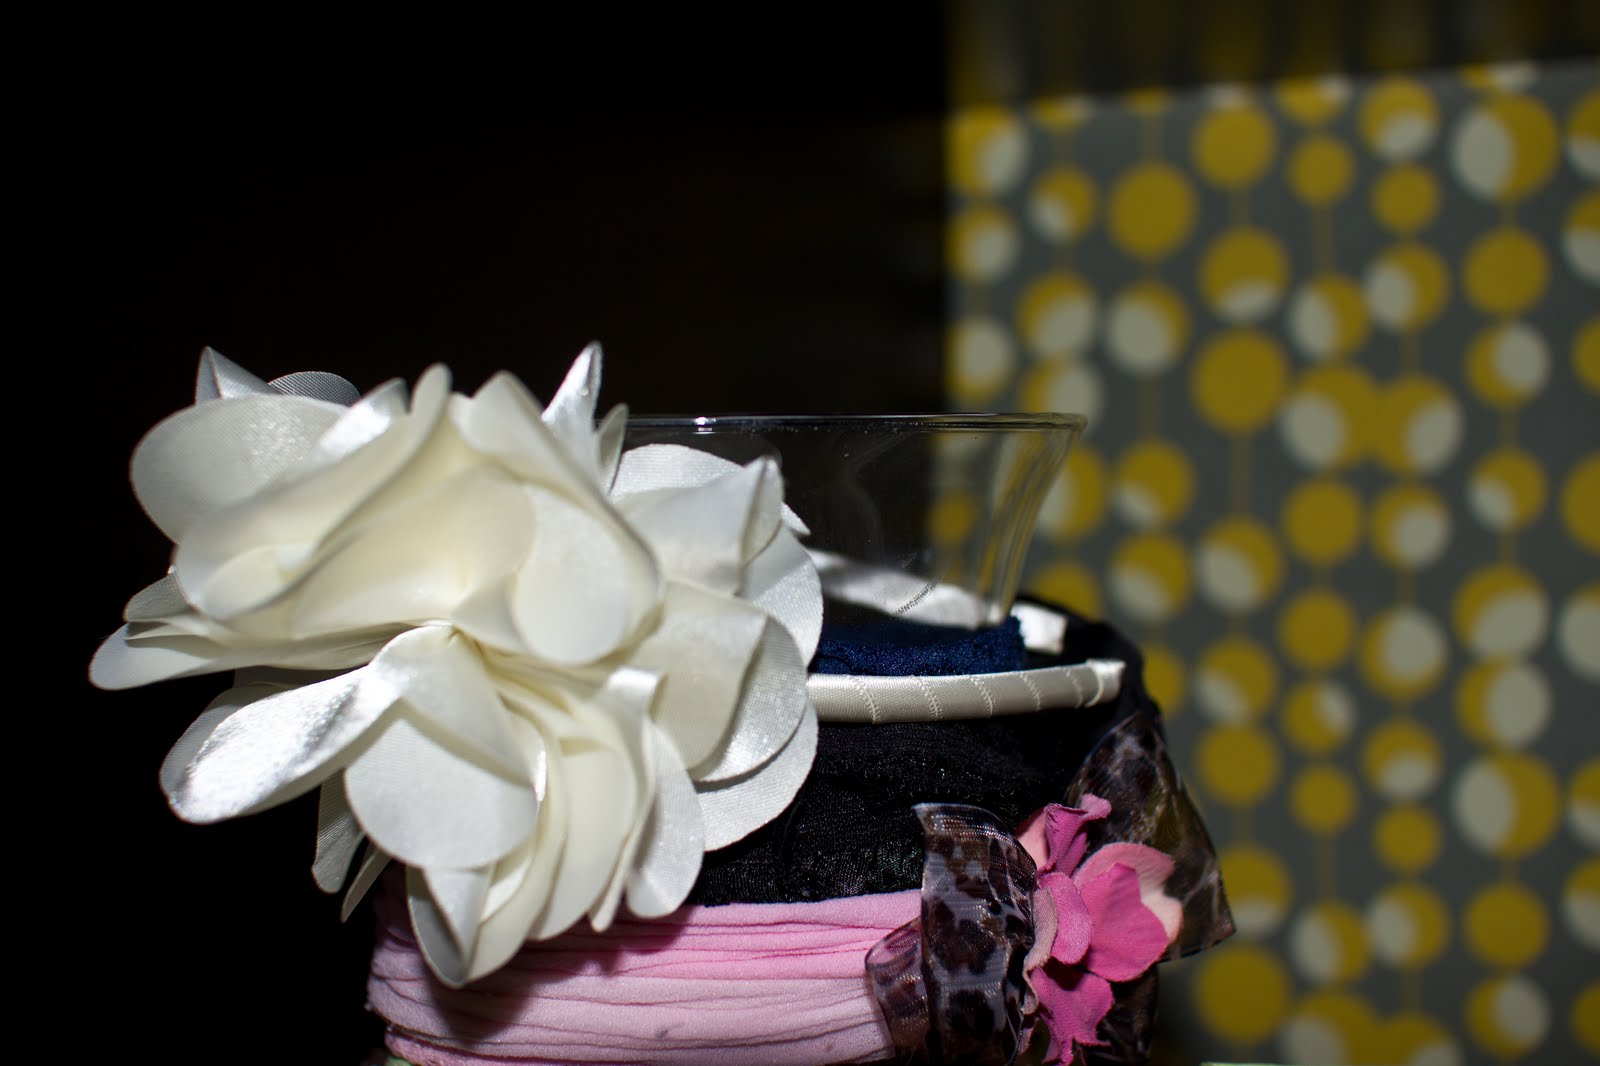
And guess what? Once I added all of her head bands you wouldn't have even been able to see the decorating anyway. So I say the glass vase solution was a win!

So there you have it! That is how I keep my love for baby hair accessories under wrap. Simple, easy, and organized!

Friday, July 29, 2011

Canvas Obsession

Finished Canvas
I am obsessed with canvases! If I walk into a craft or art store and they are on sale I have.to.buy.it! It's a compulsion that I am {sort of} working on. Am I alone in this obsession-compulsive behavior? 


I have found that you can make so many cool things with a blank canvas, that far outreaches just painting some pretty art. Here are just a few things that I have made with a blank canvas: Ribbon/barrette holder for my babies room, guest book, baby book {this one is in the making}, and lots of other "stuff". I always have at least one canvas hanging around in my house just waiting to be used. 


Awhile back I pinned this little beauty on my pinterest board. I knew I wanted to do something similar to it for Sophia's upcoming birthday. So, yesterday while my little darling took a nap, I decided that now was as good of a time as any to get started on making the canvas for her. 


Items you need:
{one} Blank Canvas
{two} Craft Paint
{three} Pencil
{four} Crepe Paper Streamers
{five} Hot glue


I started by drawing free hand zebra stripes on the canvas with a pencil. Then I took some hot pink craft paint and with a small, flat brush painted the stripes on {well actually I painted the not-stripe part.... you know so the stripes looked white and the rest was pink.... but I digress}. 


Once the paint dried, I drew on a big number one. I tried to fill as much of the canvas space as possible. 


Then I broke out some black crepe paper streamers {I got 2 rolls for $1 at dollar store}. I folded the crepe paper over a few times and cut out some four-petal flowers {I did this by folding my crepe paper squares in half one way and then in half the other way}. Word to the wise... you will need LOTS of these little flowers, so cut out a bunch at once by stacking crepe squares on top of each other before folding and cutting. Otherwise you will be cutting for a long time. 


Once the flowers were cut out, I took the flat end of a wooden skewer and twisted the middle of my flower around it, dabbed a little hot glue on the end and put it down on my canvas. I found that it worked best to go around the outer line of the one first and then to go in a fill in the holes at the end. 


Lastly I took some of the crepe paper, and hot glued it around the edge of the canvas to finish it off.


I have not decided exactly where I am going to put this for her party yet. My ideas right now is to either add a ribbon and hang it on the front door like a wreath to greet her party guests, or on a little easel somewhere. Either way I am totally in love with it and can't wait to get to craftin' more cute things for my baby's party!


I linked up to the Pintrest Challenge! Check out all the amazing projects inspired by Pinterest here, here, here, and here.